USB flash drives are a convenient method of transferring files from place to place, but a lost unprotected drive could expose sensitive information to those who find it. In this tutorial, we’re going to show you how to encrypt a USB flash drive on Windows, on Mac, and with a free cross-platform tool.
1. Prerequisites
- Backup your data. Encryption may erase the drive, so copy files to another location first.
- Use a modern operating system.
- Windows 10/11 Pro, Enterprise, or Education editions for BitLocker.
- macOS 10.13 (High Sierra) or later for Disk Utility encryption.
- Administrator rights. You need permission to install or enable encryption features.

2. Encrypting with Windows BitLocker
BitLocker is built into Windows Pro/Education/Enterprise editions and secures drives with AES encryption.
- Insert the USB drive. Open File Explorer and confirm the drive appears (e.g.,
E:). - Enable BitLocker. Right-click the USB drive and select “Turn on BitLocker.”
- Choose encryption method.
- Select “Use a password to unlock the drive.”
- Enter and confirm a strong password (8+ characters with letters, numbers, symbols).
- Save your recovery key.
- Choose to save to your Microsoft account, save to a file on your PC, or print it.
- Important: Keep this key safe—without it, you cannot recover data.
- Start encryption. Click “Start encrypting.” The process may take several minutes depending on drive size.
- Complete. Once finished, the drive icon shows a padlock. You’ll need the password to access files.
3. Encrypting with macOS Disk Utility
Disk Utility on macOS lets you create encrypted volumes on USB drives.
- Insert the USB drive. Launch Disk Utility (Finder → Applications → Utilities).
- Erase and format. Select the USB drive in the sidebar, click “Erase.”
- Format: Choose “Mac OS Extended (Journaled, Encrypted)” or “APFS (Encrypted).”
- Name the drive and click “Erase.”
- Set a password. Enter and verify a strong password. Optionally enable a hint.
- Wait for formatting. The drive will be reformatted and encrypted in one step.
- Accessing the drive. Each time you insert it, macOS prompts for the password before mounting.
4. Cross-Platform Encryption with VeraCrypt
VeraCrypt is a free, open-source tool available for Windows, macOS, and Linux.
- Download and install VeraCrypt. Get it from
https://www.veracrypt.fr. - Insert the USB drive. Launch VeraCrypt and click “Create Volume.”
- Volume type. Select “Encrypt a non-system partition/drive.” Click “Next.”
- Select device. Choose your USB drive from the list. Click “Next.”
- Encryption options. Stick with the defaults (AES, SHA-512) unless you have special needs.
- Volume password. Enter a strong password and optional keyfiles.
- Format the volume. Choose filesystem (exFAT for compatibility). VeraCrypt will erase and encrypt the drive.
- Mounting the drive. In VeraCrypt main window, select a drive letter, click “Select Device,” then “Mount.” Enter your password to access it.
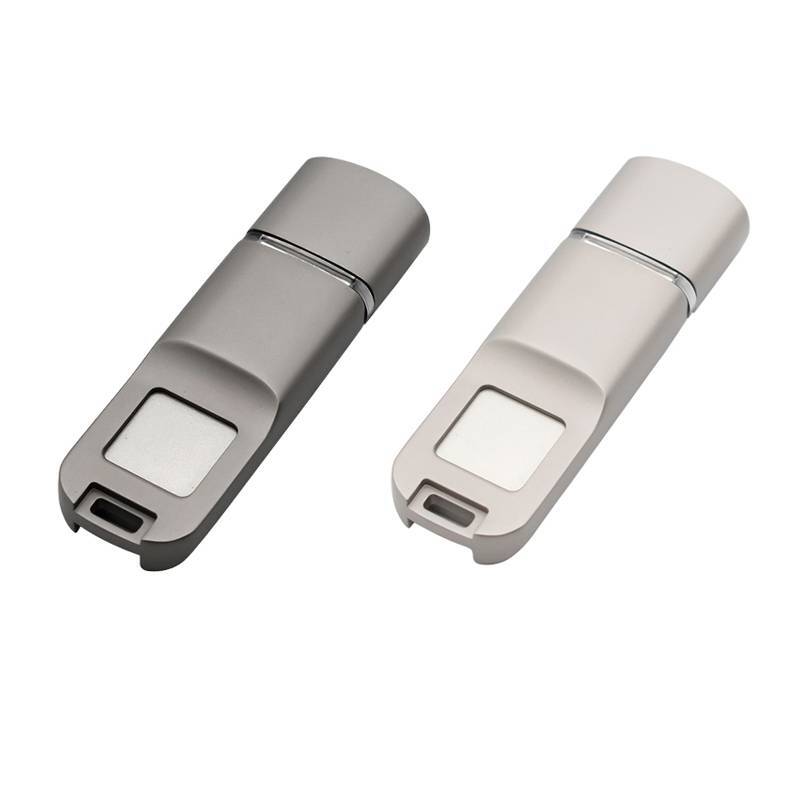
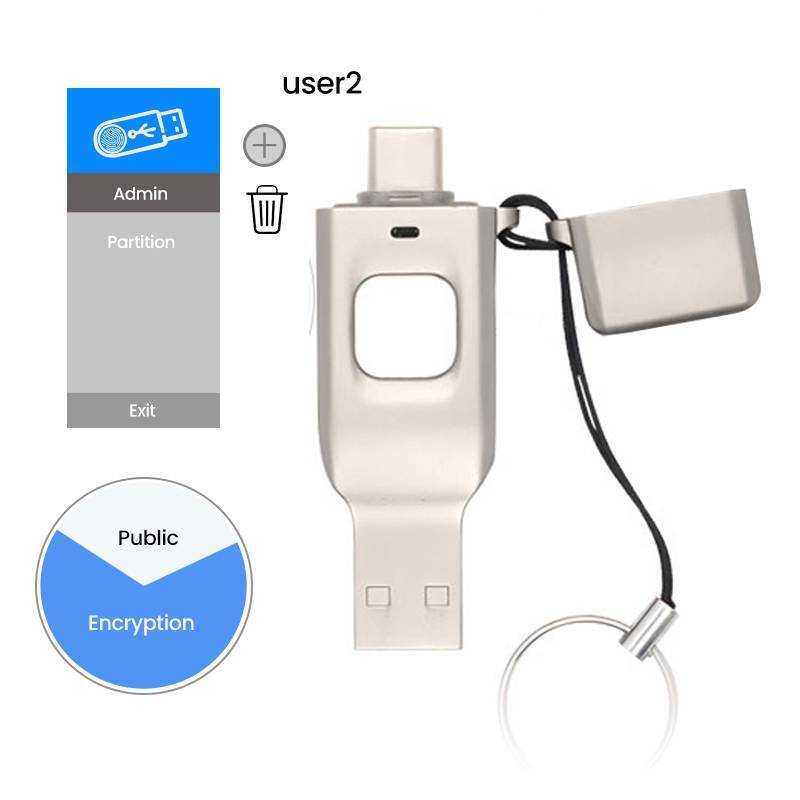
5、Use the USB Flash Drive with fingerprint ebcrypting
It’s a flash drive that stores its contents under biometric fingerprint access and encrypts all information so only registered fingerprints can open and decrypt the drive. Insert the fingerprint USB drive into your computer or mobile device and follow the user guide instructions to partition the flash drive and then set up the administer account and password. Here, for example, are instructions for YOUSAN company fingerprint encrypted USB drive.
6. Tips for Secure Use
- Choose strong passwords. At least 12 characters with a mix of character types.
- Store recovery keys separately. Do not save them on the same USB drive.
- Keep software updated. Install OS updates and the latest VeraCrypt releases.
- Eject safely. Always use “Eject” or “Safely Remove Hardware” before unplugging.
Encrypting your USB flash drive will ensure the security of your files if your drive gets lost or stolen. Click on the link that is appropriate for your operating system and follow these steps for your USB drive encryption process. Happy encryption!